


A Brew For Future You: Dandelion Mead
How to Make Dandelion Mead the Old-Fashioned Way — With Natural Yeast

The season of dandelion blooms is nearly upon us here in Quebec. The grass, yellowed from its long winter under the snow, has finally turned green. In rapid succession, the dandelion leaves have followed, and I’ve been gathering them daily from the garden beds to toss into smoothies and salads.
Today I’m sharing a special recipe my husband and I made together a couple of years ago: a golden dandelion mead. This is not a quick-turnaround kind of project. It’s a gift for Future You and the lucky people you’ll be sharing it with. Started in spring and sipped during the Autumn Equinox, it becomes a taste of sunshine in the darker months—if it lasts that long.
Picking the Dandelions
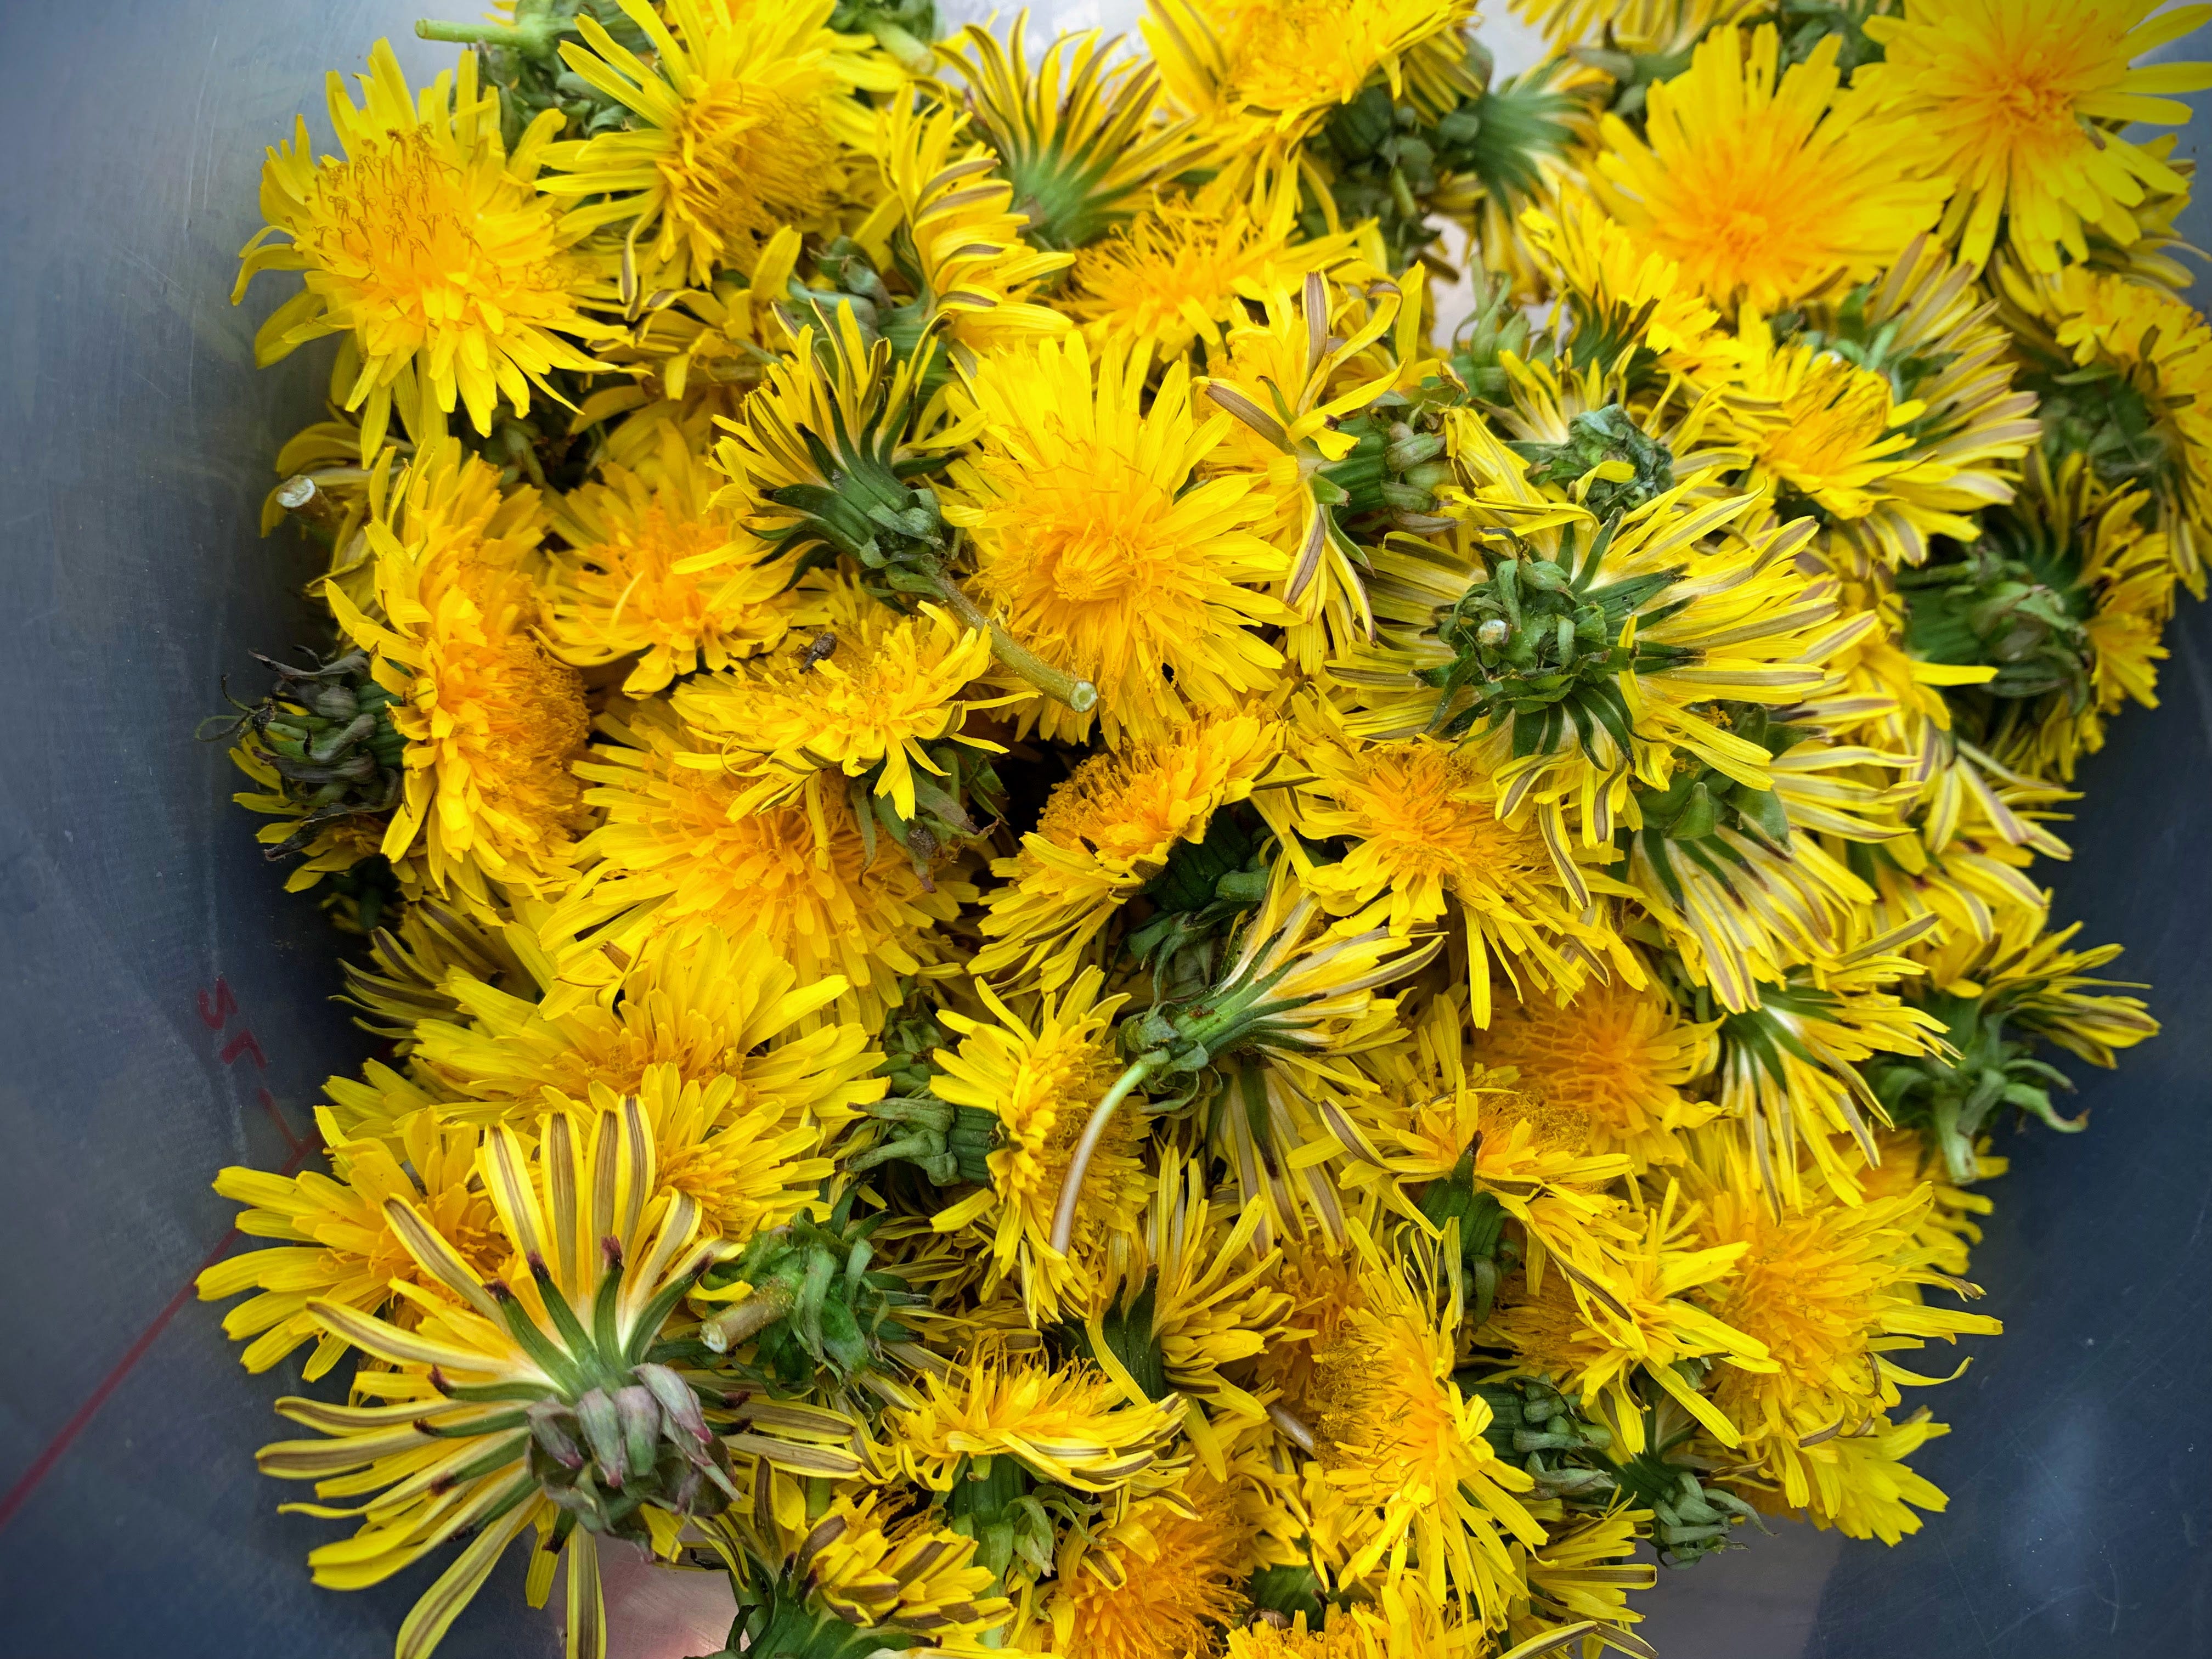
The first step is to pick flowers after they’ve taken over the lawns, rendering them canary yellow. It’s best to invite a friend to join you in this task or coax a child to help pick the blossoms with you. This is especially true once things get tedious—as they do when you find yourself spending an hour prying the flowers from their green sepals, leaving your fingers sticky with pollen. Once this is completed, the hard part is done.
Freshness is key: you want to use the flowers as soon as possible to take advantage of the wild yeasts living on them, which kickstart fermentation.
The First Brew

Using a large vessel (I like a Cambro container, which you can find at restaurant supply stores), start by mixing 1 litre/quart of raw honey with 4 litres/quarts of non-chlorinated water until the honey is fully dissolved. Only then should you stir in your 4 cups of dandelion petals.
Chlorinated water can inhibit fermentation, so be sure to use filtered, spring, or well water if possible.
Once the petals are stirred in, place a weight—such as a plate—over the mixture to keep the flowers submerged. Cover the top with a layer of cheesecloth to allow airflow while keeping dust and insects out. Then, tuck your container away in a warm, dark corner of the kitchen.
Each day for the next 5–6 days, give your mixture a good stir. You’re watching for signs of fermentation: bubbles rising to the surface, faint fizzing sounds, and a bit of liveliness when you stir. That’s the magic of natural yeast at work.
The Second Brew

Around day 5 or 6, it’s time to filter the liquid. You can ladle it through a strainer into a sterilized carboy or use a siphon hose for a smoother, faster transfer. (We started with the ladle-and-funnel method and eventually graduated to the hose—it’s a good investment if you plan to brew again.)
Fill your carboy up to the shoulders—leaving some space in the neck is important. Too much and there’s an overabundance of oxygen; too little, and pressure might build, leading to overflow. Cap it with an airlock, which will release CO2 while keeping the brew protected from contamination.

Set the carboy in a cool, dark spot. Place it on a tray or in a shallow container in case of bubbling overflow—unlikely, but possible.
Peek in occasionally to check on it. You’ll see tiny, delicate bubbles rising. Whisper to it. Give it a name. Infuse it with your good intentions.
Let the mead ferment here for 6–8 weeks. When it’s time, you’ll notice the bubbling slows significantly or stops. That’s your cue.
Bottling Day

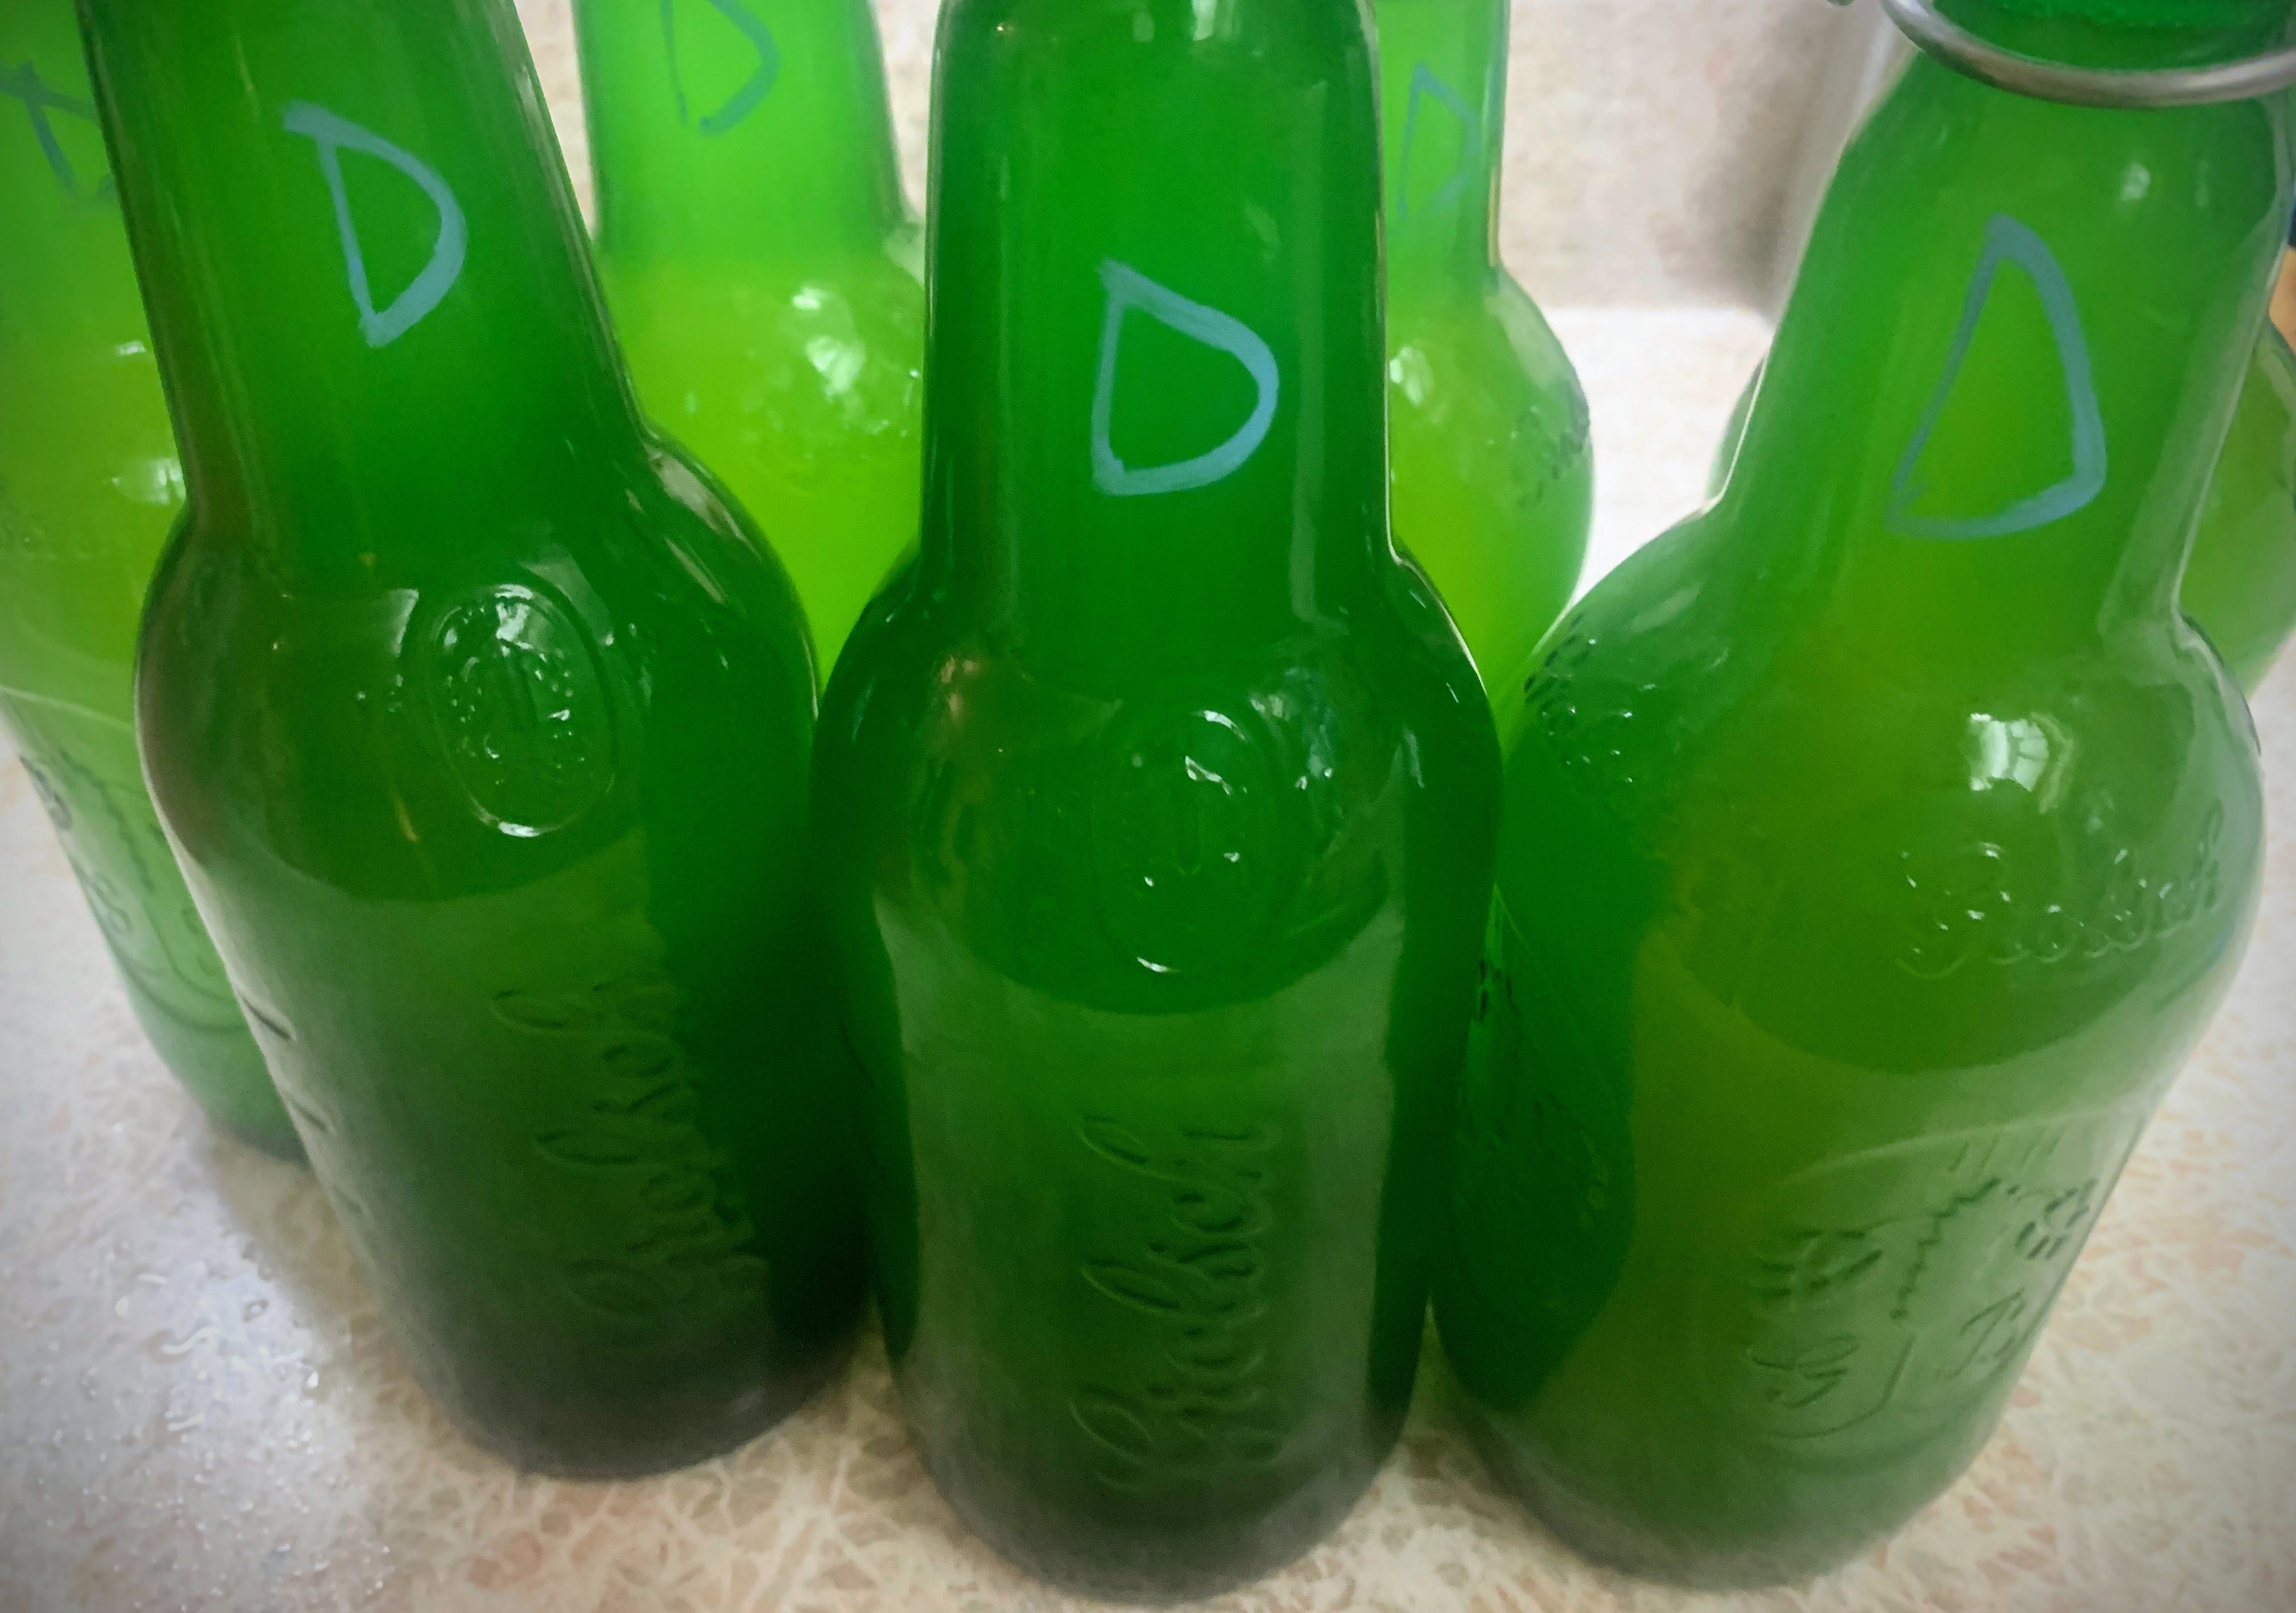
Once the bubbling has subsided and things have gone quiet, it’s time to bottle. Carefully siphon (or funnel) the mead into seven 375ml sterilized flip-top bottles and leave the sediment behind.
You may be tempted to pour it all in, but trust me—this is where the flavour lives, but it’s also where bitterness hides. As my husband says, it’s drinkable, but not enjoyable.
If there’s a bit leftover that doesn’t quite fill a bottle? Lucky you. Pour it over ice and enjoy a sneak peek of what’s to come.
The Final Cure
Now comes the hardest part: wait.
Let the bottles sit at room temperature for 2–3 weeks to allow carbonation to build. After that, move them to the fridge to slow the fermentation process. From here, they’ll continue to mellow and deepen in flavour.
Resist the urge to crack one open early—your patience will be rewarded. We usually wait until Fall to start sampling, and the first sips are a golden reward for our springtime selves.
Recipe for Dandelion Mead

Ingredients:
4 cups dandelion petals (separated from green sepals)
1 quart (or 1 litre) raw honey
4 quarts (or 4 litres) non-chlorinated water
Method:
Stir honey into water in a large vessel until fully dissolved.
Add dandelion petals and place a weight on top to keep them submerged.
Cover with cheesecloth and set in a dark place.
Stir daily for 5–6 days until bubbly.
Filter and transfer into a sterilized carboy, leaving room at the top.
Cap with an airlock and ferment in a dark place for 6–8 weeks.
When fermentation slows, bottle in sterilized 375 ml flip-top bottles, leaving sediment behind.
Let bottles sit for 2 weeks at room temp to carbonate, then refrigerate.
Cure for at least 1 month before enjoying.
Best served chilled, around a crackling autumn bonfire, surrounded by those you love.
Love and gratitude,
Sylvia